Welcome to the world of Tenderflake pie crust baking! Discover the secrets to creating light, flaky crusts with ease. Trusted for generations, Tenderflake offers a classic Canadian baking experience, ensuring perfect results every time. Learn essential techniques and tips to master this beloved pastry tradition.
Overview of Tenderflake Pie Crust
Tenderflake pie crust is a beloved Canadian classic, renowned for its light, flaky texture and buttery flavor. Made with high-quality lard, it ensures a delicate, layered crust that elevates any pie filling. Trusted by generations of bakers, Tenderflake pie crust baking relies on precise techniques like minimal dough handling and proper temperature control to achieve the perfect flake. Its simplicity and reliability make it a staple for both novice and experienced bakers, delivering consistent results every time. This traditional method has stood the test of time, offering a timeless baking experience for homemade pies.
Importance of Proper Baking Techniques
Proper baking techniques are crucial for achieving a tender, flaky Tenderflake pie crust. Maintaining cold ingredients ensures the fat remains solid, creating the desired layers during baking. Overworking the dough can lead to a tough crust, so minimal handling is essential. Correct oven temperature and preheating are vital to prevent shrinking and promote even browning. Blind baking, when needed, requires pricking the crust and using pie weights to maintain shape. Following these steps ensures a professional-quality crust, making it the perfect base for both sweet and savory fillings. Attention to detail in each step guarantees a light, flaky, and deliciously tender crust every time.
Ingredients and Tools Needed
Gather essential ingredients like flour, salt, and Tenderflake lard. Use tools such as a pastry blender, rolling pin, pie plate, and fork for preparing and baking the crust.
Essential Ingredients for Tenderflake Pie Crust
The foundation of a Tenderflake pie crust lies in its simple yet precise ingredients. You’ll need 2.5 cups of all-purpose flour and 1 teaspoon of salt. The star ingredient is Tenderflake lard, which ensures a flaky texture. Use 1 cup of ice-cold Tenderflake, cut into pea-sized pieces using a pastry blender or knives. Ice-cold water is added gradually to bind the dough, typically 1/4 to 1/2 cup. Keeping ingredients cold is crucial for achieving the desired flakiness. Avoid overworking the dough, as this can lead to a tough crust. These basic components create a classic, light, and deliciously tender pastry.
Necessary Tools for Preparing and Baking
To prepare and bake a Tenderflake pie crust, you’ll need a few essential tools. A pastry blender or two knives are crucial for cutting the lard into pea-sized pieces. A large mixing bowl and measuring cups ensure accurate ingredient proportions. A rolling pin is vital for rolling out the dough evenly. A pie plate or tart pan is needed for shaping the crust. A fork is used to prick the bottom and sides during blind baking. Optional tools include pie weights for preventing shrinkage and a baking sheet to catch drips. These tools help achieve a perfectly flaky and evenly baked crust.
Preparing the Dough
Combine flour and salt, then cut in ice-cold Tenderflake lard with a pastry blender or knives until the mixture resembles coarse oatmeal. This step ensures flakiness.

Mixing Flour and Salt
Begin by whisking together 2.5 cups of all-purpose flour and 1 teaspoon of salt in a large bowl. This step ensures even distribution of the salt, which enhances flavor and texture. Use a clean, dry whisk to mix thoroughly, creating a uniform base for the dough. This foundational step is crucial for achieving a balanced crust. Avoid overmixing, as it can lead to a dense texture. Once combined, proceed to cut in the Tenderflake lard, maintaining the integrity of the mixture. This initial step sets the stage for a flaky and tender crust.
Cutting in Tenderflake Lard
Cutting in Tenderflake lard is a critical step for achieving a flaky crust. Using a pastry blender or two knives, work the ice-cold lard into the flour mixture until it resembles coarse oatmeal or pea-sized pieces. This technique ensures the fat remains in distinct pockets, creating layers that expand during baking. Avoid overworking the mixture, as it can lead to a tough crust. The goal is to maintain the integrity of the fat pieces within the flour, which is essential for the crust’s texture. Keep the lard cold to prevent it from softening and blending too thoroughly into the flour.
Role of Ice-Cold Fat in Dough Preparation
The role of ice-cold fat in dough preparation is crucial for achieving a flaky and tender crust. Ice-cold fat, such as Tenderflake lard, ensures that the fat remains in distinct pockets within the flour mixture. When the dough is baked, these fat pockets melt, creating steam that separates the flour particles and forms layers. This process prevents the formation of a dense, tough crust. Keeping the fat cold prevents it from softening and blending too thoroughly with the flour, which would activate gluten and lead to a less desirable texture. Cold fat is essential for maintaining the dough’s structure and flakiness.

Rolling Out the Dough
Roll the dough on a lightly floured surface to desired thickness. Ensure the dough stays cold to maintain flakiness. Roll evenly in all directions for uniform texture.
Techniques for Achieving the Right Thickness
Roll the dough on a lightly floured surface, starting from the center and rolling outward. Use a rolling pin to evenly distribute pressure, ensuring consistent thickness. Aim for about 1/8 inch thickness for a standard pie crust. To check, lift the dough slightly; it should appear translucent but sturdy. Avoid over-rolling, as it can lead to a dense crust. If the dough becomes too thin in spots, reinforce it with a small piece of excess dough. Always keep the dough chilled to maintain its structure and flakiness. Proper thickness ensures the crust bakes evenly and retains its shape during baking.
Transferring Dough to the Pie Plate
Gently roll the dough onto a lightly floured rolling pin, starting from one edge and working your way across. Carefully unroll it over the pie plate, ensuring it settles evenly. Trim any excess dough from the edges using a knife or your fingers. Avoid stretching the dough, as this can lead to shrinkage during baking. If the dough becomes misshapen, gently press it back into place. Crimp or flute the edges for a decorative finish. If the dough warms up, chill it for 10 minutes before transferring to maintain its structure. Proper transfer ensures a smooth, even bake and a professional finish.
Baking Instructions
Preheat your oven to 400°F (200°C). Bake pie crusts at 400°F for 8-10 minutes for blind baking or 40-50 minutes for filled pies. Adjust times as needed.
Preheating the Oven
Preheating the oven is a critical step in achieving a perfectly baked Tenderflake pie crust. Set your oven to 400°F (200°C) and allow it to heat for at least 10-15 minutes before baking. This ensures even heat distribution, which is essential for a flaky and golden crust. For blind baking, preheat the oven with pie weights or a lined baking sheet to maintain the crust’s shape. Proper preheating prevents the crust from shrinking and promotes a light, airy texture. Always use an oven thermometer to verify the temperature accuracy for consistent results.
Blind Baking the Pie Crust
Blind baking involves baking the pie crust without a filling. Preheat your oven to 400°F (200°C). Prick the bottom and sides of the crust with a fork to prevent air bubbles. Line the crust with parchment paper and fill with pie weights or dried beans. Bake for 8-10 minutes, then remove the weights and parchment. If the crust needs more browning, bake for an additional 2-3 minutes. This step ensures the crust holds its shape and stays crispy before adding the filling. Some recipes may require extending the baking time to 12-15 minutes for a fully golden crust.
Baking a Filled Pie
Preheat your oven to 375°F (190°C). Fill the pie crust with your desired filling, ensuring it is evenly distributed. Bake for 40-50 minutes, or until the crust is golden brown and the filling is set. If the edges begin to brown too quickly, cover them with foil or a pie shield. For pies with a top crust, bake at 400°F (200°C) for the first 15 minutes, then reduce heat to 350°F (180°C) for an additional 20-25 minutes. Always check that the filling is bubbly and the crust is flaky before removing from the oven.

Tips for a Flaky Crust
For a perfectly flaky crust, keep ingredients cold, handle dough minimally, and bake at the right temperature. These simple steps ensure a tender, layered texture every time.
- Keep all ingredients cold to maintain fat structure.
- Handle dough gently to prevent gluten development.
- Bake at the recommended temperature for even cooking.
Importance of Keeping Ingredients Cold
Keeping ingredients cold is crucial for achieving a flaky pie crust. Cold fat, such as Tenderflake lard, creates a layered dough structure when mixed with flour, ensuring a tender texture. Warm ingredients can cause the fat to melt, leading to a dense crust. Always refrigerate ingredients before mixing and keep the dough chilled during preparation. This step prevents gluten activation and maintains the integrity of fat pockets, essential for a light, flaky finish. Proper temperature control is key to mastering the Tenderflake pie crust technique.
Minimizing Dough Handling
Minimizing dough handling is vital for a tender and flaky pie crust. Overworking the dough develops gluten, leading to a tough crust. Mix ingredients just until combined, then chill the dough to relax the gluten. When rolling out, use gentle strokes and avoid excessive pressure. Use a pastry blender or food processor to cut in fat evenly without overmixing. Handling the dough sparingly ensures the fat remains in pea-sized pieces, creating layers that bake into a flaky texture. Keep the dough cold and work quickly to prevent softening. Proper handling techniques preserve the structure needed for a light, tender crust.
Using the Right Baking Temperature
Using the right baking temperature is crucial for achieving a flaky and tender pie crust. Preheat your oven to 400°F (200°C) for optimal results, as this high heat helps create a light, airy texture. For blind baking, bake at 375°F (190°C) to prevent shrinking and ensure even cooking. When baking a filled pie, start at 400°F (200°C) for the first 15-20 minutes, then reduce to 350°F (175°C) to finish cooking the filling without burning the crust. Proper temperature control ensures the fat layers melt evenly, creating the desired flaky texture. Always use pie weights for blind baking to maintain shape.
Troubleshooting Common Issues
Common issues like shrinking or cracking can arise from overworking dough or incorrect temperatures. Ensure proper chilling and gentle handling to maintain shape and integrity.
Preventing Crust from Shrinking
To prevent crust shrinking, ensure dough is well-chilled before baking. Dock the crust with a fork to release air bubbles, which can cause contraction. Use pie weights during blind baking to hold the shape. Avoid overstretching dough when placing it in the pie plate, as this can lead to shrinkage. Keep ingredients cold, especially the fat, to maintain structure. Preheat the oven properly and bake at the correct temperature to set the crust quickly. Cooling the crust slightly before filling also helps maintain its form. Proper handling and chilling are key to a beautifully baked, non-shrinking pie crust.

Fixing a Tough or Dense Crust
If your crust turns out tough or dense, it likely means the dough was overworked or the fat wasn’t incorporated properly. To fix this, ensure the lard is ice-cold and cut into the flour until pea-sized pieces remain. Avoid overmixing, as this develops gluten, leading to toughness. If the crust becomes too warm, chill it before rolling. Blind baking with pie weights can help maintain shape and prevent dense spots. For future batches, use a light touch when mixing and rolling. Properly chilling the dough and avoiding overworking are key to achieving a tender, flaky crust.
Additional Resources
Explore recommended recipes for filled pies and online tutorials for visual learners. Check out cookbooks, baking blogs, and video guides for step-by-step Tenderflake pie crust techniques and tips.
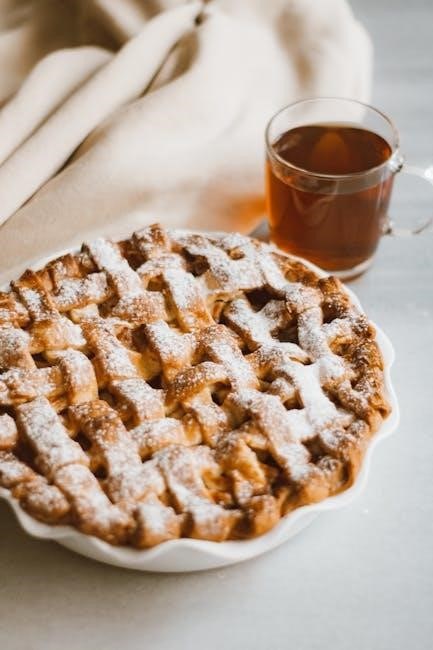
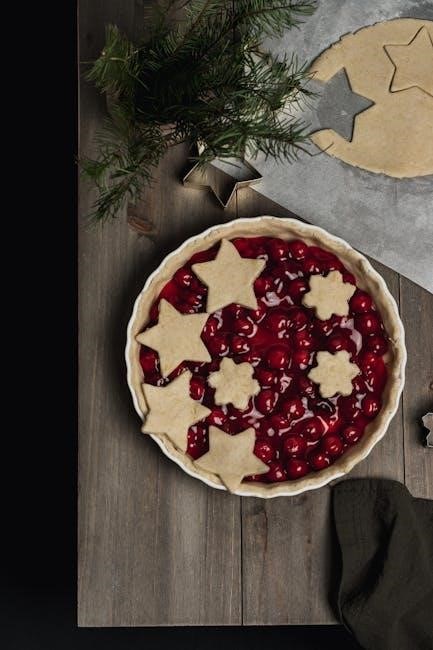
Recommended Recipes for Filled Pies
For a deliciously filled pie, try classic recipes like apple, pumpkin, or cherry pie. These pair perfectly with Tenderflake crust for a flaky, flavorful base. Savory options like chicken pot pie or spinach and feta also work well. Many recipes suggest preheating the oven to 400°F (200°C) and baking until the crust is golden and the filling is set. Adjust baking time based on the filling’s thickness. Whether sweet or savory, these recipes highlight the versatility of Tenderflake crust, ensuring a mouthwatering result every time. Explore these ideas to create memorable dishes for any occasion.
Online Tutorials for Visual Learners
For those who prefer visual guidance, online tutorials are an excellent resource for mastering Tenderflake pie crust baking. Websites like YouTube and Allrecipes offer step-by-step videos demonstrating techniques like mixing, rolling, and blind baking. These tutorials often include tips for achieving a flaky texture and troubleshooting common issues. Many feature experienced bakers sharing their secrets for working with Tenderflake lard, ensuring a light and tender crust. Whether you’re a beginner or looking to refine your skills, these visual guides provide clear, hands-on instruction to help you succeed in creating perfect pie crusts every time.
Mastering Tenderflake pie crust baking requires patience and practice. Keep ingredients cold, handle dough gently, and bake at the right temperature for a perfectly flaky crust every time.
Final Tips for Perfecting Tenderflake Pie Crust
For a flawless Tenderflake crust, always keep ingredients cold to ensure flakiness. Avoid overworking the dough, as it can lead to toughness. Use a pastry blender or knives to cut in lard evenly. When rolling, maintain even thickness and transfer gently to the pie plate. Prick the bottom lightly to prevent air bubbles. Blind bake with weights if needed for a crisp shell. Bake at 400°F initially to set the crust, then reduce heat to 350°F for even cooking; Let the crust cool slightly before filling to prevent sogginess. Practice makes perfect—experiment with recipes to refine your technique!